

FANUC Robot | Motor Encoder Replacement Process
Release time:
2025-05-07 16:34
Source:
FANUC Robot | Motor Encoder Replacement Process
1. Encoder disassembly
(1) Turn off the robot to find the motor corresponding to the encoder, and use the hexagon to remove the protective cover of the encoder cable.
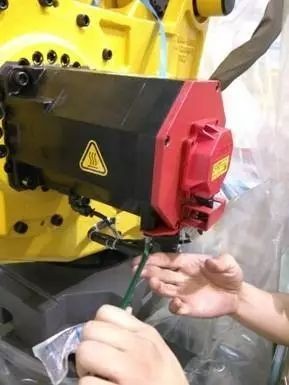
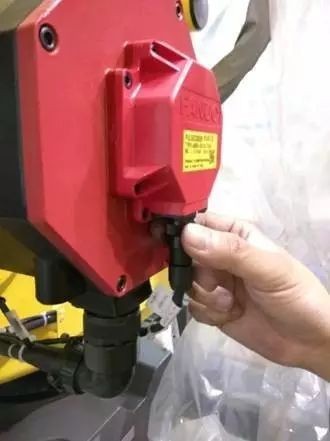
(2) Unplug the encoder cable
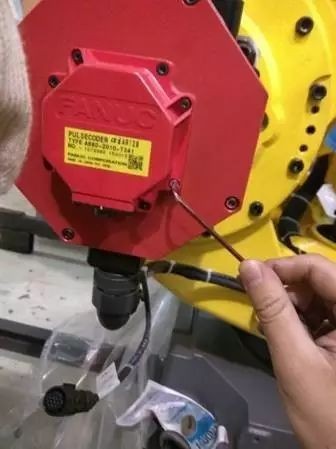
(3) Use the hexagon to unscrew the four fixing screws on the encoder, be careful not to screw it wrong, if you are not sure, you can unscrew it first and compare the length before continuing.
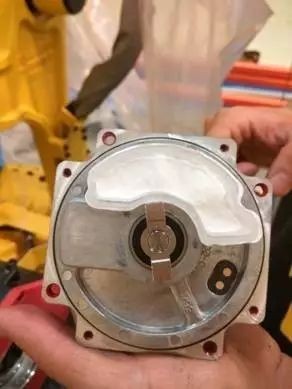
(4) Carefully unplug the encoder (be careful not to remove the seal).
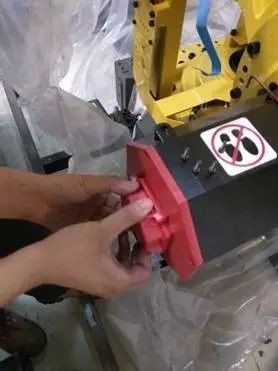
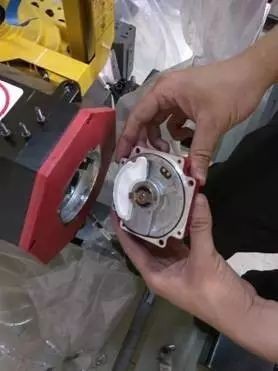
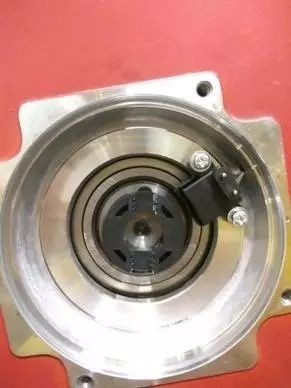
(5) You can see the keyway on the motor end face and the encoder end face
2. Points to note when installing the encoder:
(1) Align the keyway and key, not crooked, otherwise it will not fit in
(2) Align the pin of the temperature collection device
(3) Confirm that the seal is not missing and that there is no deformation during installation
(4) The screws are tightened evenly
(5) Others are the opposite of the disassembly process
(6) After the coder is disassembled, the zero position needs to be recalibrated, and the encoder should not be disassembled under normal conditions
(7) After the encoder is replaced, the axis needs to be calibrated at the zero position
Disclaimer: All content is only for learning and communication, if you operate by yourself and cause unpredictable problems, please bear the risk and consequences caused by the test.
———————— END ————————
News
CONTACT US
-
Tel/Wechat/ WhatsApp/Facebook: +86 18740841879
Email: yiliachen@nkfautomation.com
Website: www.nkfautomation.com
Address:No.54,Floor 2,Building 2,No.49,Zijing East Road,High-tech Zone
Chengdu City,Sichuan Province,China


-
Copyright © 2024 Chengdu NKF Intelligent Equipment Co., Ltd. Power by 300.cn


SAF Coolest v1.3.1.2 设置面板 GVVSD-ZTHI-OSZDE-AFW
无数据提示
Sorry,当前栏目正在更新中,敬请期待!
您可以查看其他栏目或返回 首页